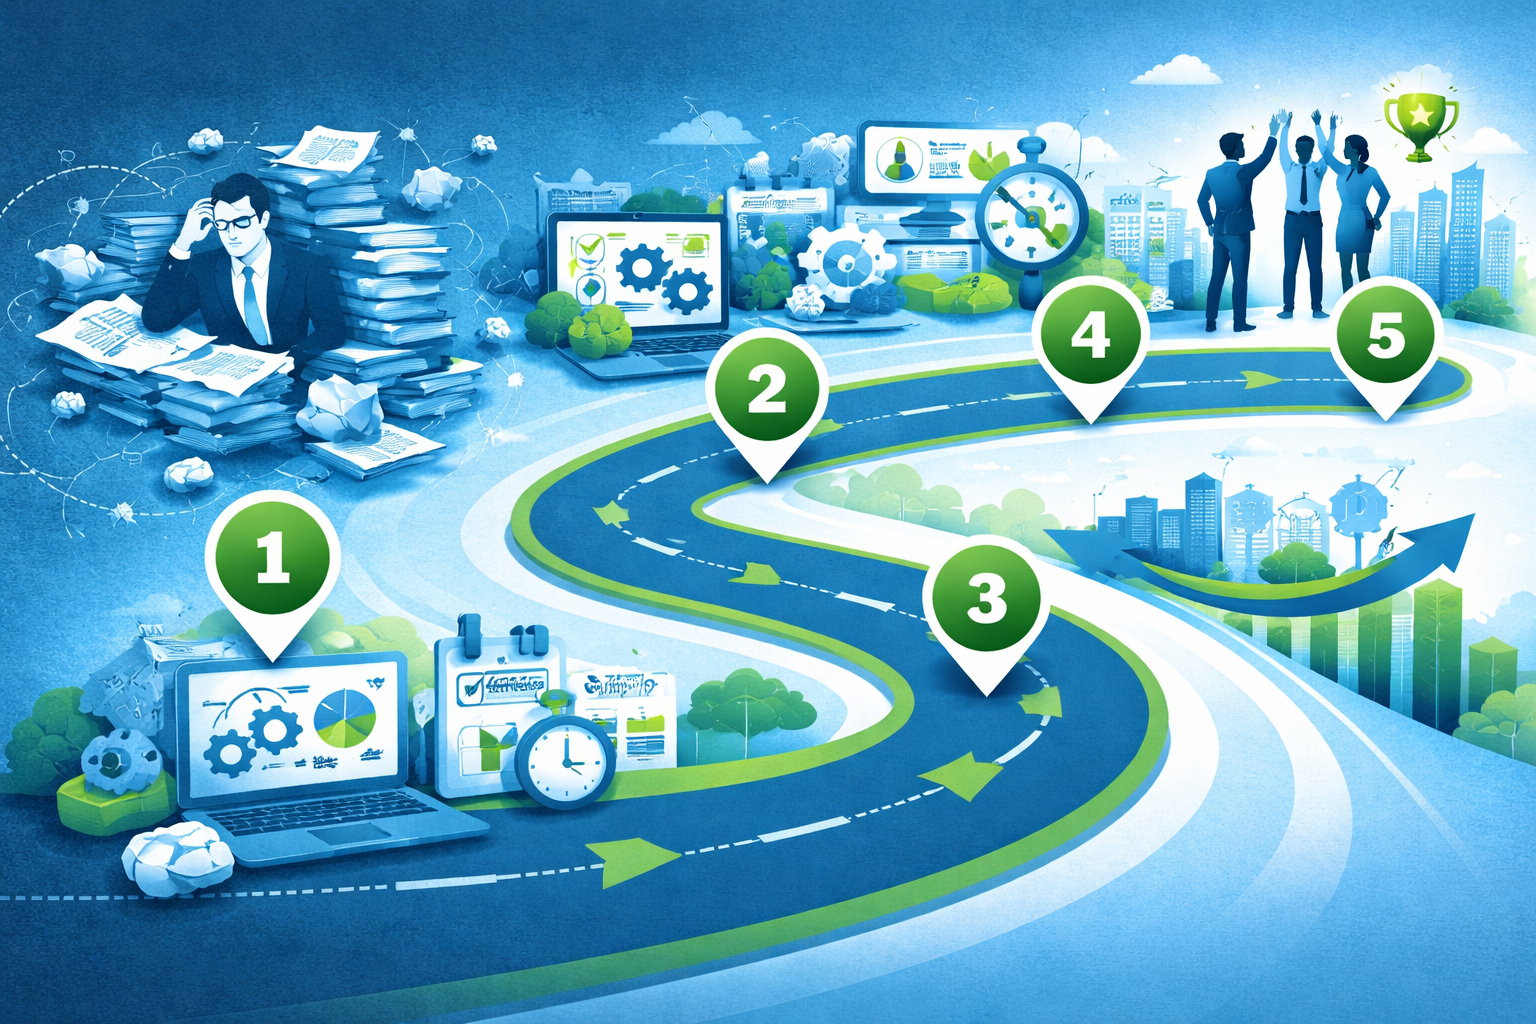
Streamlining Operations: A Step-by-Step Guide for SMEs
Streamlining your business operations can feel overwhelming. Where do you start? What should you prioritize? How do you avoid disrupting your business while making improvements?
This comprehensive guide breaks down the process into manageable steps that any SME can follow—whether you’re a solopreneur or managing a growing team.
Phase 1: Assessment (Weeks 1-2)
Before making changes, you need to understand your current state. This foundation ensures you’re solving the right problems rather than just treating symptoms.
Map Your Current State
Start by documenting how work actually flows through your business. Not how you think it should flow, or how it flows on your best days—how it really happens day to day.
Pick 3-5 core processes to start with. Focus on things like client onboarding, project delivery, and invoicing. Shadow your own work for 3-5 days, noting every task and handoff. Interview team members about their daily workflows—you’ll be surprised what you learn. Create simple flowcharts showing current processes.
Pro tip: Use free tools like Miro, Lucidchart, or even pen and paper at this stage. Don’t get bogged down in fancy software before you’ve mapped the basics.
Identify Pain Points
Look for the common inefficiency indicators that plague most growing businesses.
Time traps show up as tasks that routinely take much longer than expected. Work gets interrupted frequently, breaking flow and concentration. Projects stall while waiting for information or approvals that should be readily available.
Quality issues manifest as frequent errors requiring rework. Outputs vary wildly in quality depending on who does the work. Customer complaints start accumulating, pointing to underlying process problems.
Bottlenecks appear when work piles up at certain stages in your workflow. You notice dependencies on specific people who become overwhelmed. Tools that don’t talk to each other force manual copying and increase errors.
Red flags include phrases like “we’ve always done it this way” spoken defensively. Multiple versions of truth exist with conflicting data sources. Critical tribal knowledge lives only in people’s heads, undocumented and vulnerable.
Quantify the Impact
For each pain point, estimate the real cost. Track time spent dealing with this issue each week. Calculate direct financial costs like redundant tools or rework expenses. Consider opportunity costs—what profitable work can’t get done because of this problem?
Example: Manual invoice creation takes 4 hours per week. At £50/hour, that’s £10,400 per year. The opportunity cost? You could use that time for 2 extra client meetings per week, potentially generating significantly more revenue.
Phase 2: Prioritization (Week 3)
You can’t fix everything at once. Smart prioritization ensures you get wins quickly while tackling high-impact issues.
Use the Impact vs. Effort Matrix
Plot each issue on a 2×2 grid to reveal your priorities.
Quick Wins (High Impact, Low Effort) should be tackled first. These deliver immediate value and build momentum. Think email templates, automation of single repetitive tasks, or eliminating unnecessary meetings that everyone dreads anyway.
Major Projects (High Impact, High Effort) come next after you’ve proven value with quick wins. These might include a complete system overhaul or implementing new project management tools across your organization.
Fill-Ins (Low Impact, Low Effort) are things you do when you have spare time. Organizing your files or updating old documentation fits here—nice to have but not urgent.
Time Wasters (Low Impact, High Effort) should be avoided entirely. Don’t create perfect reports that no one reads. Don’t over-engineer simple processes for hypothetical edge cases that rarely occur.
Create Your 90-Day Roadmap
Break improvements into three 30-day sprints for maximum effectiveness and sustainable change.
Month 1: Quick Wins Focus on 3-5 high-impact, low-effort improvements that demonstrate immediate value. Build momentum and prove the concept. Examples include email templates for common responses, implementing an online booking system, or automating payment reminders.
Month 2: Foundation Tackle 1-2 major foundational issues that may require tool implementation or training. This might mean rolling out a new CRM system or standardizing your core workflows across the team.
Month 3: Refinement Optimize what you implemented in the first two months. Address edge cases that surfaced during real-world use. Train your team fully on the new processes so they become habits rather than novelties.
Phase 3: Implementation (Weeks 4-16)
Now comes the action phase. Here’s how to implement changes without breaking what’s already working.
Start with Templates and Standardization
Before automating anything, standardize it first. You can’t automate chaos—you’ll just create faster chaos.
Create templates for email responses covering common questions and follow-ups. Build document templates for proposals, contracts, and reports that maintain consistency. Develop workflow checklists for recurring processes so nothing gets missed. Design onboarding templates for clients, projects, and team members.
Pro tip: Start collecting your sent emails. If you’ve written essentially the same email twice, it should become a template.
Eliminate Before You Automate
Ask “Do we even need to do this?” before asking “How can we do this faster?” You’d be surprised how many tasks survive only because they’ve always been done.
Common eliminable tasks include reports no one reads or acts on. Meetings without clear agendas or outcomes waste everyone’s time. Approval steps that add no real value just slow things down. Data entry that merely duplicates existing information somewhere else serves no purpose. Being CC’d on emails creates noise, not signal.
The elimination test: Stop doing the task for 2 weeks. If no one notices or complains, you’ve successfully eliminated it. If someone does notice, you’ve learned it actually matters.
Automate Repetitive Tasks
Now that you’ve standardized and eliminated, identify real automation opportunities.
Low-hanging fruit delivers quick wins. Email automation through scheduling tools and autoresponders handles routine communications. Automated payment reminders eliminate manual follow-up on late invoices. Self-service appointment booking via Calendly or Acuity ends scheduling email tennis. Zapier or Make connections synchronize data between tools automatically. Automated dashboards replace manual report compilation.
Focus your ROI on automations that save the most time or reduce the most costly errors.
Integrate Your Tools
Stop copying data between systems. This wastes time and introduces errors at every copy-paste.
Common integration opportunities exist between your CRM and email marketing platform. Connect your payment processor to your accounting software. Link project management tools with time tracking. Route form submissions directly into your CRM or email system.
For no-code solutions, try Zapier, Make (formerly Integromat), or IFTTT. Check what native integrations your existing tools already support—you might be surprised. For custom needs, API connections may require a developer but pay dividends in efficiency.
Document Everything
As you optimize, document your new processes so the knowledge doesn’t live only in your head.
Create SOPs (Standard Operating Procedures) with step-by-step instructions. Build process maps showing visual workflows. Develop training materials including videos and guides. Design checklists for quality control.
Keep it simple. A Google Doc with screenshots often beats a fancy wiki that no one updates because it’s too complicated.
Phase 4: Training and Adoption (Weeks 14-16)
The best process improvements fail if your team doesn’t adopt them. Change management matters as much as the changes themselves.
Train Your Team Effectively
Start by explaining the why—what specific problem does this new process solve? Show the how through live demonstration. Practice together with guided walkthroughs where people can ask questions. Support ongoing use through Q&A sessions and accessible troubleshooting.
Pro tip: Record screen-share videos of new processes. Team members can rewatch them when they need a refresher without interrupting others for help.
Create Accountability
Processes don’t stick without accountability built into your culture.
Assign process owners—specific people responsible for each workflow. Build in checkpoints for regular reviews ensuring compliance. Track metrics that measure both adoption and outcomes. Celebrate wins publicly when processes work well, reinforcing the behavior you want to see.
Phase 5: Measurement and Iteration (Ongoing)
Improvement is never done. Measure results, learn from them, and refine continuously.
Track Your Metrics
Compare before and after data to prove impact and identify areas still needing work.
Time metrics include hours saved per week, time to complete key processes, and response times to customers.
Quality metrics track error rates, customer satisfaction scores, and how often rework is needed.
Business metrics show revenue per employee, profit margins, and customer retention rates.
Gather Feedback Regularly
Weekly quick team pulse checks keep you aware of emerging issues. Monthly process review meetings allow deeper discussion. Quarterly full operational assessments ensure you’re still aligned with business goals.
Ask these questions consistently: What’s working well? What’s still frustrating? Where are we regressing to old habits? What new issues have emerged as the business evolves?
Iterate and Improve
Use feedback to refine processes continuously rather than in big disruptive overhauls.
The 1% improvement rule transforms businesses over time. Make small tweaks regularly rather than waiting for big changes. Small improvements compound dramatically—a 1% improvement each week means you’re 67% better by year-end.
Common Pitfalls to Avoid
Don’t Try to Boil the Ocean
Trying to fix everything at once overwhelms everyone and delivers nothing. Start small, prove value with measurable wins, then expand to other areas.
Avoid Over-Engineering
The simplest solution that works is usually the best long-term approach. Don’t add complexity “just in case” some hypothetical scenario might occur someday.
Technology Isn’t a Magic Fix
A new tool won’t fix a broken process—it just makes the broken process happen faster. Fix the process first, then add tools that support the better approach.
Change Management Matters
People resist change naturally, especially when it affects their daily work. Bring them along through clear communication, involvement in decisions, and addressing their concerns seriously.
Assign Clear Ownership
Without clear ownership, processes drift back to old ways within months. Assign accountability explicitly and check in regularly.
Your Implementation Checklist
Week 1-2: Assessment
- Document 3-5 core processes
- Identify top 10 pain points
- Quantify time and cost impacts
Week 3: Planning
- Prioritize using Impact/Effort matrix
- Create 90-day roadmap
- Get team buy-in
Week 4-6: Quick Wins (Month 1)
- Implement 3-5 quick wins
- Create templates
- Eliminate unnecessary tasks
Week 7-10: Foundation (Month 2)
- Tackle 1-2 major improvements
- Implement new tools if needed
- Begin documentation
Week 11-14: Refinement (Month 3)
- Train team thoroughly
- Optimize processes
- Build in accountability
Ongoing:
- Track metrics monthly
- Gather feedback regularly
- Iterate continuously
The Bottom Line
Streamlining operations isn’t a one-time project—it’s an ongoing commitment to working smarter. But by following this step-by-step approach, you can make meaningful improvements without overwhelming your business or your team.
Start small. Prove value. Scale what works. Your future self and your team will thank you.
Need help getting started?
Contact us for a free operational assessment, or use our ROI calculator to quantify your opportunity.
About Rachel
Helping small to medium businesses streamline operational processes for growth through process improvement, workflow optimization, and system integration.